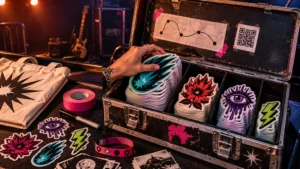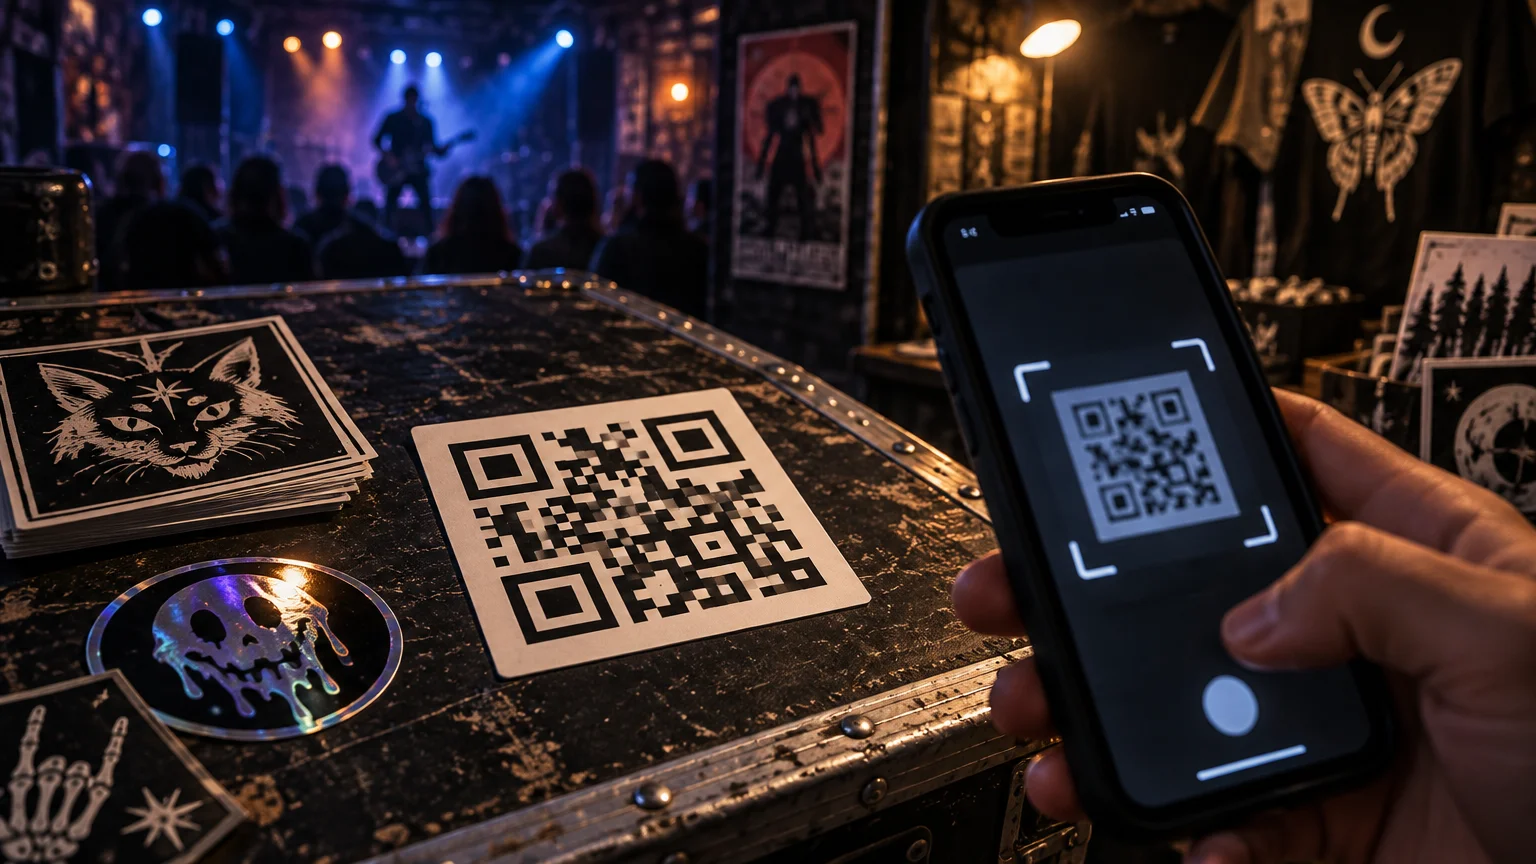
TLDR: A qr sticker low light venue setup needs a dark code on a plain light panel, a clear four-module quiet zone, minimal interference from logos or artwork, and a surface that does not throw harsh reflections across the code. Give people one useful reason to scan, obtain permission before distributing or placing anything, test the final printed sticker under venue-like lighting, and measure the action after the scan—not merely the scan itself.
Dim ambient light is only one part of the problem. A QR sticker can fail because a spotlight reflects off its finish, colored lighting weakens contrast, the code is too dense, the blank margin has been crowded by artwork, or the sticker bends around a cup or railing. Treat the campaign as a complete system: destination, code, print treatment, placement, handoff, testing, and measurement.
Decide what the scan should accomplish
Start with one primary action. At a show, that could be opening a new single, joining an email list, viewing the night’s merch, claiming a permitted giveaway, or following an artist. Sending visitors to a cluttered homepage forces them to decide what the campaign was supposed to do.
The destination should load well on a phone and make the promised action obvious. Match the sticker’s call to action to the page: “Scan for the set list” should not open a generic social profile, while “Get the unreleased track” should not drop somebody onto a store category page. A QR code removes typing; it does not remove confusion.
Keep the visible pitch short enough to understand between sets. State the benefit beside the code instead of printing a lonely “Scan me.” The artwork can carry the band or event identity, but the offer should tell an unfamiliar person why reaching for a phone is worth the interruption.
Build a QR sticker for low-light venue conditions
The safest starting point is a conventional one: very dark QR modules on a plain, very light background. GS1 identifies black and white as the highest-contrast pairing and recommends very dark modules against a very light background when color is used. A black code in a white panel can still sit inside loud artwork; the code itself does not have to carry every brand color.
Avoid reversing the code to light modules on a dark background unless the finished version has been properly verified and tested. Also be wary of gradients, transparent panels over textured artwork, metallic effects inside the grid, and colors that appear distinct on a monitor but become difficult to separate under blue, red, or purple stage light.
Protect the quiet zone and finder patterns
A QR code needs an empty border called a quiet zone. GS1 specifies a quiet zone four modules wide on every side. A module is one small square in the QR grid, so this margin scales with the code rather than being one universal measurement. Graphics, text, borders, cut lines, and background patterns should stay out of that space.
The three large corner squares are finder patterns that help a camera locate and orient the code. Do not reshape them to match a logo, cover them with illustrations, or let a die-cut edge crowd them. The full GS1 implementation guidance for two-dimensional codes also warns about altered finder patterns, low contrast, nonuniform grids, and large embedded logos.
Use logos cautiously
A small central logo can work in some QR designs, but error correction is not a license to cover an arbitrary portion of the grid. DENSO WAVE explains that QR error correction can restore data when part of a code is dirty or damaged, while higher correction levels also increase the code’s size. More correction can therefore produce a denser or physically larger symbol, depending on the encoded data.
Keep the encoded URL concise, preserve the structural elements, and test any branded version against a clean control version. If the decorated code struggles, remove the logo before making the sticker larger or adding more visual tricks. Recognition matters, but successful decoding is the code’s actual job.
Control glare without flattening the whole design
Low-light venues often contain bright point sources: moving beams, bar lights, illuminated signs, and phone flashes. A glossy surface can reflect those sources directly into the camera. GS1 notes that glossy or high-sheen substrates may create reflections that obscure or distort the perceived grid at certain angles; its guidance describes matte black modules on white as the highest-contrast approach on reflective substrates.
That does not mean every event sticker must be visually flat. One practical layout is to reserve a plain, non-reflective panel for the QR code while letting the surrounding design carry stronger color and expressive artwork. Guerilla Stickers similarly presents matte as the finish for keeping glare down and gloss as the louder visual option. Matte reduces one risk, but it cannot rescue poor contrast, a damaged quiet zone, excessive code density, or a sticker wrapped over a tight curve.
There is no responsible universal size for a low-light QR sticker. Required size changes with the amount of encoded data, correction level, expected scanning distance, print reproduction, surface, lighting, and phone camera. Choose a workable starting size, order or print a physical sample, and validate it at its intended distance before committing to the full quantity.
Plan permission-based distribution
A street team needs more than a box of stickers and vague instructions to “get them everywhere.” Confirm approval with the venue, organizer, booth manager, or property owner. Define whether the team may hand stickers directly to guests, include them with purchases, display removable signs, or apply them to particular approved surfaces. Permission for handouts does not automatically mean permission to stick them onto walls, bathrooms, lamp posts, equipment, or neighboring property.
This is where a disciplined guerrilla sticker marketing plan beats random placement. Give each person a named location, time window, quantity, tracking code, and one-sentence handoff. For example: “The band put a bonus track behind this code.” That is clearer than asking team members to improvise a sales pitch in a noisy room.
- Front entrance after doors open: handouts only, if approved, without blocking entry or security operations.
- Merch table: place a small quantity beside the related item or include one with a purchase.
- Approved queue or lounge area: use a flat display surface where guests have enough time and light to scan.
- Exit period: offer a take-home sticker to interested guests instead of trying to force an immediate scan.
- Partner counter or sponsor booth: confirm who replenishes the supply and who removes any display after the event.
Do not treat quantity as a vanity target. Use controlled batches based on the team’s capacity and the approved locations. Record how many pieces each person receives, how many are accepted, how many remain, and whether any display is removed afterward. The broader guide to using promotional stickers without wasting them can help frame distribution around willing recipients rather than indiscriminate placement.
Test the printed sticker, not just the screen
A code that scans from a bright monitor has not passed a print test. Printing can soften module edges, shift colors, add glare, or reduce the effective quiet zone after trimming. Application can introduce a curve, wrinkle, seam, or texture that was absent from the proof.
Guerilla Stickers states that its workflow includes artwork upload, selection of size, quantity, cut, and finish, followed by a proof that is approved before printing, cutting, and shipping. Use that proof to catch layout errors, but validate a physical sample for environmental performance. A proof cannot reproduce every reflection, surface curve, or stage-light color.
- Scan the final printed sample with several available phone models, using their normal camera apps.
- Test in low ambient light and under colored light resembling the venue’s setup.
- Move a bright light across the sticker to expose angle-dependent glare.
- Try the expected viewing distance, plus modestly closer and farther positions.
- Scan straight on and from realistic side angles without treating an extreme angle as the normal use case.
- Apply a sample to the intended approved surface and check for curvature, wrinkles, texture, or seams.
- Open the destination over a cellular connection and complete the intended action.
- Repeat the test after any change to the URL, QR artwork, size, finish, or destination redirect.
If the result is unreliable, simplify in the right order: restore a clean light panel, clear the quiet zone, remove the logo or decorative modules, shorten the encoded destination, reduce glare, flatten the application surface, and then reconsider physical size. Change one variable at a time so the team learns what fixed the failure.
Track context and meaningful audience response
Different destinations or campaign tags can show whether response came from a particular venue, placement, creative, or team member. Google Analytics supports manually tagged campaign URLs using utm_source, utm_medium, utm_campaign, and utm_content. Its documentation describes utm_content as a way to distinguish creatives and warns that parameter values are case-sensitive.
Use a written naming convention before generating codes. For example, keep utm_source for the event or venue, utm_medium for the physical format, utm_campaign for the tour or release, and utm_content for the creative or placement. The exact taxonomy matters less than applying it consistently. Review Google’s campaign URL tagging documentation before building the final links.
Do not make a completely different visual code for every individual unless the added production complexity serves a clear purpose. A sensible structure might use one version per venue and one distinguishable content value per approved placement. Team-member-level tracking can be useful for operational learning, but it should not become a misleading contest when people work different shifts and locations.
| Funnel stage | Measure | What it helps answer |
|---|---|---|
| Supply | Stickers assigned and returned | How much material entered each location? |
| Distribution | Stickers handed out or accepted | Did the team reach willing recipients? |
| Attention | QR scans or sessions | Did the sticker generate enough interest to open the page? |
| Action | Plays, sign-ups, claims, or purchases | Did visitors complete the campaign’s intended step? |
| Quality | Completion rate and page errors | Did the destination work after the scan? |
A scan is not automatically a sale, attendee, fan, or completed sign-up. Report scans separately from the desired action. If one location distributes 100 stickers and produces 20 sessions, while another produces fewer sessions but more completed sign-ups, those are different lessons about attention and intent—not proof that one team member worked harder.
Pre-event QR sticker checklist
- One primary post-scan action is selected.
- The mobile destination is live, fast enough for practical event use, and easy to understand.
- Campaign parameters follow one case-consistent naming convention.
- The QR code uses dark modules on a plain light panel.
- A four-module quiet zone remains clear on every side.
- Finder patterns are intact, and any logo has been kept limited and tested.
- The chosen finish and printed sample have been checked for glare.
- The actual sticker scans under dim, colored, and changing light.
- The intended surface is flat enough and approved for the planned use.
- The venue or property decision-maker has approved the distribution method and locations.
- Each team member has a quantity, shift, location, tracking version, and handoff line.
- Unused stock, accepted handouts, scans, completion events, and cleanup are recorded separately.
Make reliability part of the campaign
The strongest low-light QR sticker is not necessarily the biggest or most decorated one. It is the version that preserves contrast and structure, avoids destructive reflections, offers a clear benefit, and has been tested as a finished physical object in realistic conditions.
Before ordering the full run, make one representative sample and conduct the complete journey: see the sticker under venue-like light, scan it from the expected position, load the page over mobile data, and finish the intended action. Then lock the artwork, tracking convention, permitted distribution plan, and cleanup responsibilities. That final rehearsal will reveal more than another hour spent adjusting the QR generator.