TLDR
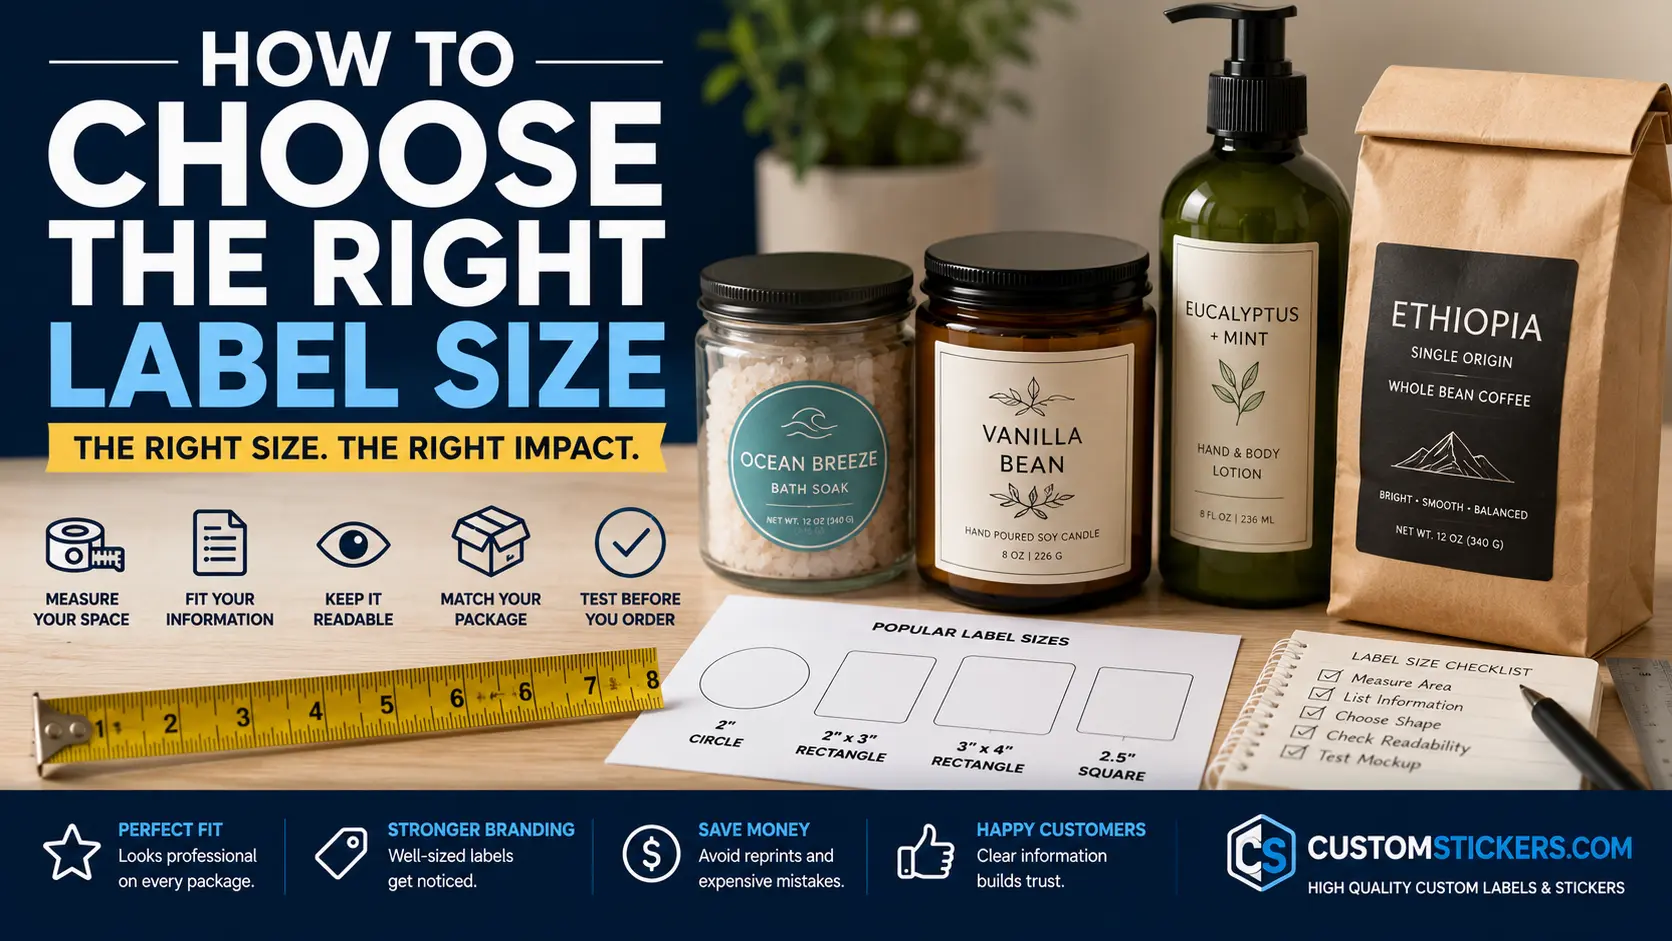
- Choose a label size based on the container first, then the design.
- Measure the flat label area, not the full package.
- Keep important text readable at the final printed size.
- Use smaller labels for simple branding and larger labels for product details, ingredients, warnings, or directions.
- Test with a paper mockup before ordering custom labels.
Choosing the right label size sounds simple until you are holding a jar, bottle, pouch, box, or candle and wondering why the “normal” size suddenly looks wrong. Too small, and the label feels lost. Too large, and it wrinkles, wraps awkwardly, or crowds the packaging.
The best way to choose the right label size is to start with the package, not the artwork. Measure the usable label area, decide what information must fit, then pick a label shape and size that leaves enough breathing room. That small bit of planning helps your packaging look cleaner and keeps the ordering process easier.
For businesses ordering custom product and label stickers, label size affects almost everything: readability, branding, application, cost, and how professional the final product feels.
Start With The Package Shape
The package shape does most of the decision-making for you.
A round jar, tall bottle, flat box, stand-up pouch, lip balm tube, and candle tin all need different label sizing. A label that looks great on a flat mailer may not work on a curved container. A label that fits a large glass jar may overwhelm a small cosmetic tin.
Start by identifying the label area:
- Is the surface flat or curved?
- Does the package taper?
- Are there seams, ridges, corners, or handles?
- Will the label sit on the front only, or wrap around?
- Will the label be applied by hand or with an applicator?
- Does the packaging need front and back labels?
A flat box gives you more freedom. A curved bottle is less forgiving. A tapered jar can make a rectangular label wrinkle if it is too tall. A flexible pouch may need a slightly smaller label so it does not crease along the edges.
That is why the “right” label size is rarely just a standard number. It depends on the object.
Measure The Usable Label Area
Do not measure the entire package. Measure the area where the label can sit cleanly.
For a bottle or jar, measure the height of the smooth panel where the label will go. Then measure the width around the front-facing area. If the label wraps around, measure the circumference, but leave a gap so the edges do not overlap unless that is your intent.
For a box, measure the panel where the label will be applied. Leave space around the edges so the label does not look crowded or get caught on corners.
For a pouch, measure the flat front area after the pouch is filled. This matters because flexible packaging changes shape. A label that looks fine on an empty pouch can sit differently once the product is inside.
A good rule is to leave a little margin around the label. The label should look intentional, not squeezed into place.
Decide What The Label Needs To Do
A label can have one simple job or several jobs at once.
Some labels are mostly for branding. These might include a logo, product name, and simple design. Others need to carry more information: ingredients, scent, weight, barcode, usage instructions, batch number, QR code, warning text, or contact details.
The more information you need, the larger the label usually needs to be.
A 2-inch circle can work well for a simple logo on a jar lid. It may not work well for a full product label with ingredients and directions. A 3 x 2 inch rectangle might be enough for a candle label. A taller bottle label may need more vertical space for product details.
Before choosing a size, write down what must appear on the label:
- logo
- product name
- flavor, scent, or variant
- net weight or volume
- ingredients
- allergens
- instructions
- warning text
- barcode
- QR code
- website or social handle
- batch number
- expiration or best-by date
Now separate must-have information from nice-to-have information. If everything feels important, the label may need to be larger, or the design may need a front label and back label.
Choose A Shape That Fits The Design
Label shape affects how the size feels.
A circle label feels simple and balanced. It works well for lids, jars, tins, bakery packaging, thank-you labels, and simple logos. CustomStickers offers circle roll labels, which are a good fit when you want a clean round label in repeat quantities.
A rectangle label works well for bottles, boxes, pouches, food packaging, candles, and product information. Rectangles give you more room for text, especially if your label needs ingredients or directions.
A square label is a nice middle ground. It feels neat and compact, and it works well on boxes, jars, bags, and flat containers.
An oval label can soften the look while still giving you more horizontal space than a circle. It is useful for candles, jars, beauty products, and handmade goods.
A die-cut label works best when the shape of the design matters. It can follow the outline of a logo, mascot, product shape, or custom graphic. This can look more personal, but it also means the artwork needs to be set up carefully.
Shape is partly style, but it is also function. If your design has a lot of text, a circle may not be the best choice. If your design is mostly a logo, a circle or square may be enough.
Common Label Sizes And Where They Work
There is no universal label size, but some sizes come up often because they fit common packaging.
| Label Size | Common Uses |
|---|---|
| 1 inch circle | Small seals, mini jars, product samples, envelope closures |
| 1.5 inch circle | Small lids, favors, small bags, compact branding |
| 2 inch circle | Jar lids, bakery labels, candle lids, simple product labels |
| 2.5 inch circle | Larger jars, coffee bags, product packaging, event labels |
| 3 inch circle | Bold branding, larger containers, gift packaging |
| 2 x 3 inch rectangle | Candles, jars, small boxes, soaps, cosmetics |
| 3 x 4 inch rectangle | Food packaging, pouches, bottles, product information |
| 2 x 8 inch rectangle | Water bottles and wrap-style bottle labels |
| 4 x 6 inch rectangle | Shipping-style labels, larger bags, boxes, detailed product labels |
Use this as a starting point, not a rulebook. The package still matters more than the size chart.
Keep Text Readable At The Final Size
A label can look great on a computer screen and still fail in print. Screens let you zoom in. Customers do not.
Print the label design at actual size on plain paper. Cut it out and place it on the package. Then look at it from a normal distance.
Ask yourself:
- Can I read the product name quickly?
- Is the flavor, scent, or variant easy to see?
- Is the small text too cramped?
- Does the logo have enough room?
- Does the barcode or QR code have enough clear space?
- Does the label look balanced on the container?
Small text is one of the biggest reasons to choose a larger label. If you have ingredients, warnings, or directions, do not force them into a tiny label just to keep the design compact.
For regulated products, readability is not just a design issue. Food, cosmetics, supplements, children’s products, candles, and other consumer goods may have specific labeling rules depending on the product and where it is sold. If your product needs required information, choose a label size that lets that information appear clearly.
Think About Front Labels Vs Back Labels
One large label is not always better.
For some products, a front-and-back label setup works best. The front label can focus on branding and product identity. The back label can carry ingredients, directions, barcode, batch information, and warnings.
This can make the front of the product cleaner. It also gives required information more room, instead of shrinking everything onto one crowded label.
A front-and-back label setup can work well for:
- bottles
- jars
- sauces
- candles
- cosmetics
- supplements
- coffee bags
- specialty food items
The tradeoff is that you have two labels to design and apply. For small batches, that may be fine. For larger production runs, it adds time unless your workflow is set up for it.
Consider Application Method
How you apply the label affects what size makes sense.
Hand-applied labels are easier when the size is forgiving. Very large labels can be harder to place straight by hand, especially on curved packaging. Very small labels can also be tricky because tiny placement errors are easier to notice.
Roll labels are often better for businesses applying labels in volume. They are easier to store, dispense, and use in a repeatable workflow. Sheet labels can be useful for small batches, personal projects, or compact storage.
CustomStickers has a full custom labels collection with different label formats, shapes, and product options, which can help you match the label type to the way you plan to apply it.
For curved containers, test the size before ordering a large batch. A label that is too wide may bubble or wrinkle. A label that is too tall may fight the curve of the container.
Leave Room For Bleed And Safe Area
Artwork needs a little extra room for printing and cutting.
Bleed is artwork that extends past the final cut line. It helps prevent tiny white edges if the cut shifts slightly. Safe area is the space inside the cut line where important text and logos should stay.
In plain terms:
- extend background colors or patterns past the edge
- keep text and key details away from the edge
- do not place important information right on the cut line
This matters more when the label has a full-color background, border, or edge-to-edge design. A label with a white background may be more forgiving. A label with a dark border can make even a small shift more noticeable.
If you are not sure, keep the design simple and give the edges more breathing room.
Match Label Size To Shelf Impact
Label size affects how a product looks from a distance.
A small minimalist label can look refined on the right package. But if the product will sit on a retail shelf, farmers market table, or busy display, the label still needs enough presence to be noticed.
For shelf impact, make sure the product name and main visual are easy to see. Customers should not have to pick up the item just to figure out what it is.
This is especially important for:
- food and beverage packaging
- candles
- skincare
- coffee and tea
- pet products
- wellness items
- handmade goods
- retail boxes
A larger label gives you more visual space. But a larger label can also cover too much of the packaging. If the container itself is part of the appeal, such as a clear jar or glass bottle, you may want a smaller label that leaves the product visible.
Make A Paper Mockup Before Ordering
A paper mockup is the easiest way to avoid label sizing mistakes.
Print the label at actual size. Cut it out. Tape it onto the package. Then look at it in real life.
This quick test shows things a screen cannot:
- whether the label feels too large or too small
- whether the text is readable
- whether the shape fits the container
- whether the design wraps awkwardly
- whether the label blocks too much of the product
- whether the placement feels natural
You do not need fancy tools. Plain printer paper is enough for a size check. If you are comparing two sizes, print both and place them on the package side by side.
This is one of those small steps people skip because it feels too simple. It also catches a lot of mistakes.
Label Size Checklist
Use this checklist before placing an order:
- Measure the flat or usable label area.
- Decide whether the label goes on the front, back, lid, bottom, or side.
- List all required information.
- Choose a shape that fits the container and design.
- Make sure text is readable at actual size.
- Leave room for bleed and safe area.
- Check how the label looks on the package color.
- Test a paper mockup.
- Decide between roll labels and sheet labels.
- Order a size that supports the full design, not just the logo.
The right label size should make the product easier to understand and better to look at. It should not make the customer work harder.
Conclusion
Choosing the right label size comes down to three things: the package, the information, and the way the label will be applied.
Start by measuring the usable label area. Then decide what the label needs to say. Choose a shape that fits both the container and the design. Keep the text readable. And before ordering, print a paper mockup at actual size.
A good label does not have to be large. It has to be clear. The right size makes your product look intentional, helps customers understand what they are buying, and makes your packaging feel more finished.
FAQs
What Is The Best Label Size For Jars?
A 2 inch or 2.5 inch circle often works well for jar lids, while a 2 x 3 inch or 3 x 4 inch rectangle can work well on the front of the jar. The best size depends on the jar shape and how much information needs to fit.
What Size Label Should I Use For Bottles?
For front bottle labels, measure the smooth label area first. Many bottles work well with rectangular labels. For water bottle-style wrap labels, a longer rectangle is usually better.
Should My Label Cover The Whole Package?
Not usually. A label should fit the package without feeling crowded. Leaving some visible packaging around the label often looks cleaner and makes application easier.
Are Roll Labels Better Than Sheet Labels?
Roll labels are usually better for larger quantities and faster application. Sheet labels can be useful for smaller batches, hand application, or compact storage.
How Do I Know If My Label Text Is Too Small?
Print the label at actual size and read it from a normal distance. If you need to squint or zoom in, the text is probably too small.
Can I Use One Label Size For Multiple Products?
Yes, if the packages are similar and the design has enough flexibility. A shared label size can make ordering and application simpler, but it should still fit each container cleanly.